

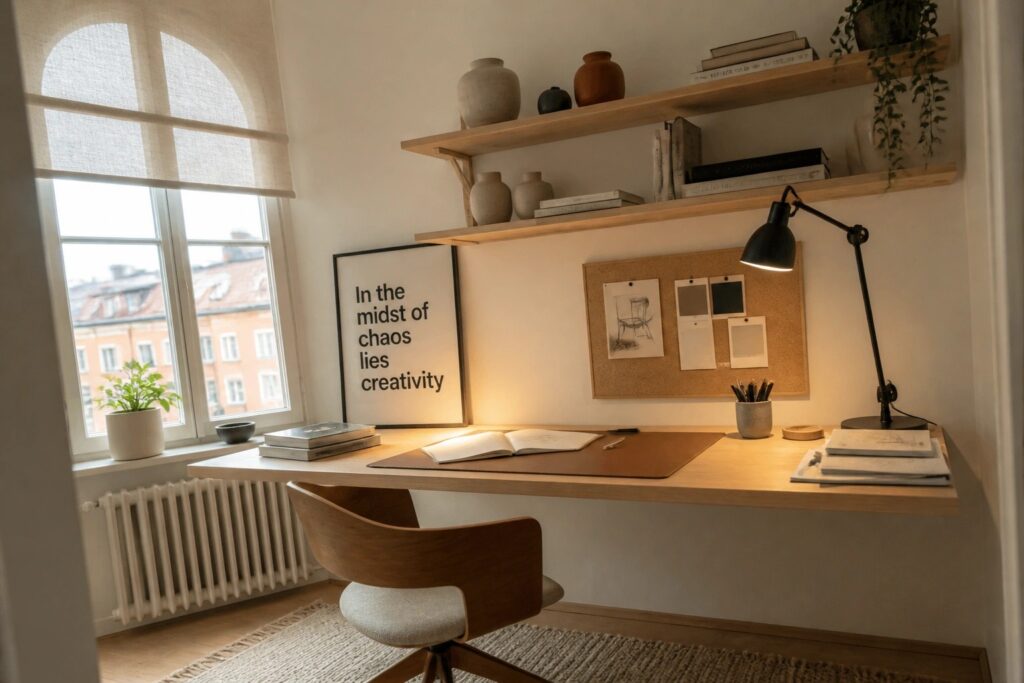
I often find that the workspaces which hold up over months are the ones where the desk faces the right direction for natural light without creating glare on the screen.
People tend to notice right away whether the storage keeps tools within easy reach or turns every task into an extra step.
A good layout makes the difference between staying in the flow and getting pulled out of it every few minutes.
In my case I usually try one change at a time so I can tell what actually improves the way the room works.
Ideas that consider both the daily routine and the occasional need to spread out materials end up feeling more usable in a real home setting.
Build A Window Seat Into Your Workspace

A window seat gives you extra seating and storage right where you already have good light. It turns the wall under the windows into a useful spot instead of leaving it empty.
This setup works best in smaller rooms or rooms that need to serve more than one purpose. Keep the bench cushions simple and use the space underneath for bins or baskets so the floor stays clear.
A Large Drafting Table For Hands-On Work

A big drafting table gives you room to lay out full-size plans and work directly with your hands. It keeps the focus on the project instead of squeezing everything onto a smaller desk or screen.
This kind of table works well in any studio or spare room where you need steady surface space and easy access to tools. Pair it with nearby drawers or shelves so materials stay close without cluttering the top.
Open Shelving That Keeps Materials in View

One idea that works well in creative spaces is keeping supplies out where you can see them. A tall leaning shelf lets you stack fabrics or papers in plain sight so nothing stays hidden at the back of a drawer. It turns storage into part of the room instead of hiding it away.
This setup works best for designers and makers who like to browse while they work. Place the shelves close to the desk so materials stay within reach. Just avoid overloading the unit so the space still feels open enough to move around.
Built-In Storage For A Maker Space

A long work surface with open shelves above and storage below keeps supplies right where you need them. The pegboard on the wall adds another layer of easy access for tools that would otherwise clutter the counter.
This setup works best in a dedicated room or large alcove where you can leave projects out. It suits anyone who wants to see their materials instead of digging through closed cabinets every time.
Open Shelving Keeps Supplies Within Reach

Open shelving works well in a workspace because it lets you see everything at once and grab what you need without digging through cabinets. In a studio setting it also turns storage into part of the room’s look, so materials and tools stay visible and ready instead of hidden away.
This approach suits makers who work with lots of small supplies like glazes, clays, or paints. Just make sure the shelves are sturdy and not too high, and leave enough wall space for a simple board where you can note schedules or recipes.
Built-In Shelving For Attic Workspaces

Attics often leave awkward low spots along the walls that are hard to use for anything practical. Fitting shelves right into those sloped areas turns wasted space into storage that actually holds up over time.
This works best in older homes where the roof pitch creates natural nooks. Keep the shelves shallow enough to avoid bumping your head and place them near a desk or chair so books stay easy to reach without adding extra furniture.
A Long Workbench With Storage Below

A long workbench gives you room to spread out projects and keep materials close without constant rearranging. Storage built right into the base keeps bins and boxes handy while leaving the floor clear for moving around.
This setup works well in a garage or basement studio where you want a permanent spot for tools and supplies. Mount frequently used items on the wall above so they stay within reach during work.
A Generous Table For Laying Out Ideas

A big table gives you room to spread samples, sketches, and materials without feeling cramped. It works well when you need to step back and see how things relate to each other during a project.
Place it in a room with decent natural light and keep a wall nearby for pinning references. This setup suits anyone who works with physical pieces rather than just a screen, though it does take up floor space.
Add a Peg Rail Above the Desk
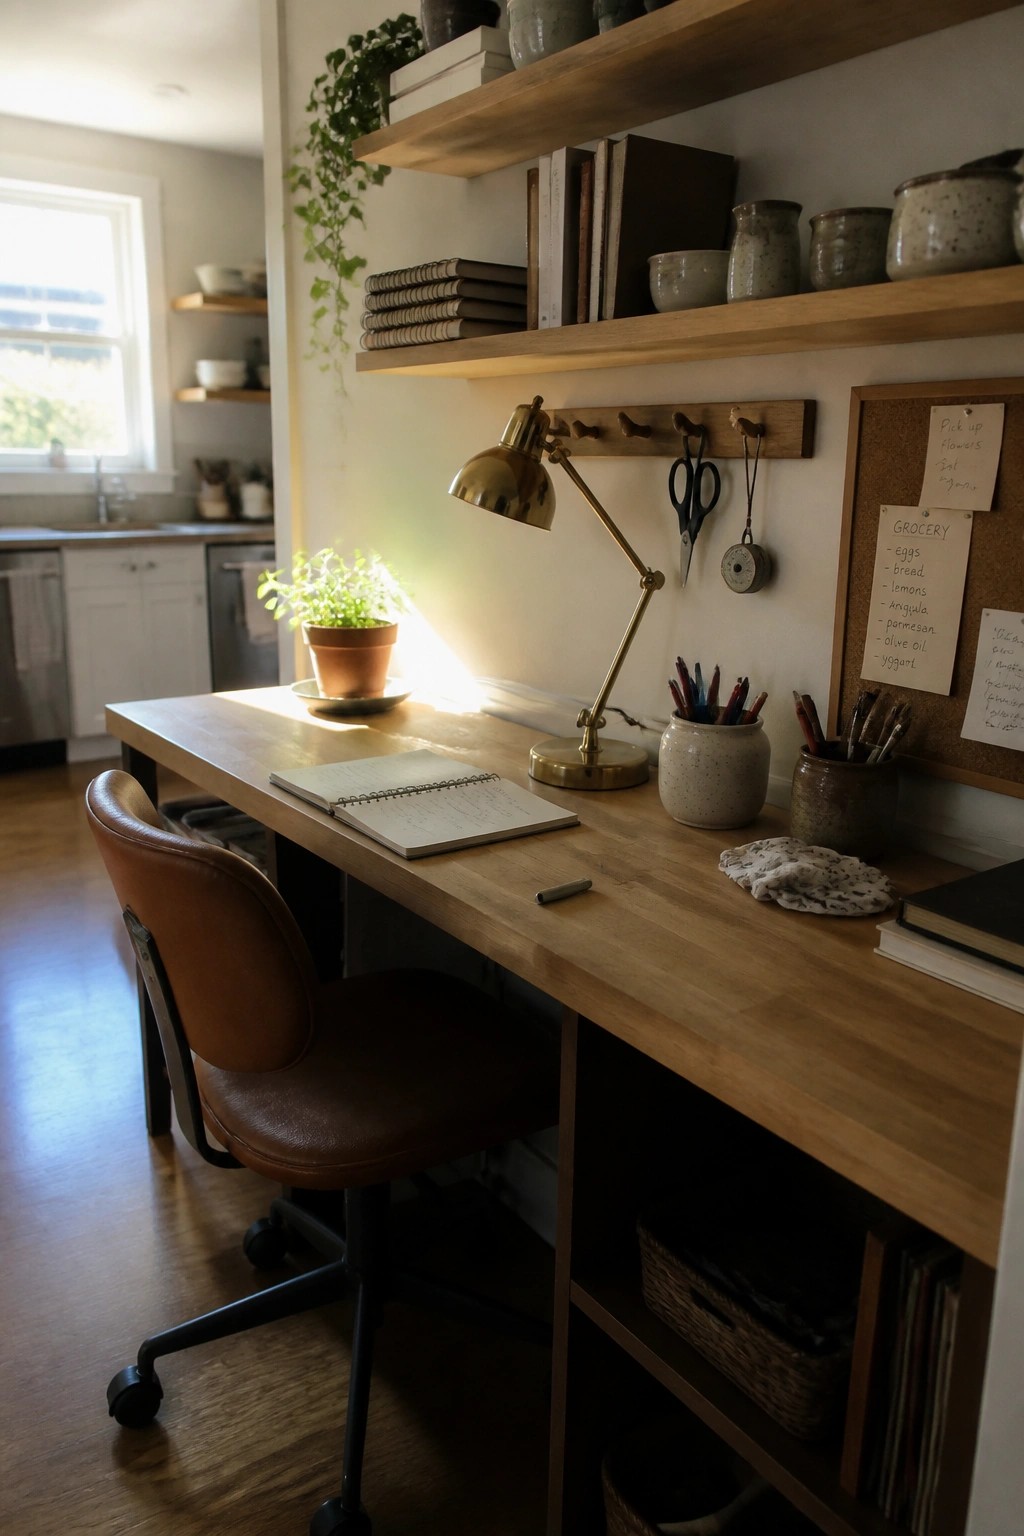
A peg rail gives you a simple way to keep tools visible and within reach without taking up desk space. It works especially well when you need scissors, clips, or measuring tools often and want to avoid digging through drawers.
This approach suits smaller workspaces or any room where the desk sits against a wall. Mount the rail at seated eye level and use it for the items you grab every day.
Add Shelving Under Your Desk

Many workspaces end up cluttered because there is nowhere to put the extra gear. Putting simple shelves right under the desk keeps books, drives, and small equipment close at hand without crowding the surface.
This setup works best in smaller rooms or shared spaces where floor room is limited. Just leave enough clearance for your legs and choose shelves that stay stable when you move the chair in and out.
Labeled Drawers Keep Supplies Sorted

Many makers end up wasting time searching through boxes or bags for the right material. Labeled drawers fix that by putting everything in clear view and easy reach right where the work happens.
This approach suits a small home studio or corner workspace that needs to stay practical. Sort items by type or color, then add simple labels so you can grab what you need without stopping your flow.
Turn A Closet Into A Compact Workspace
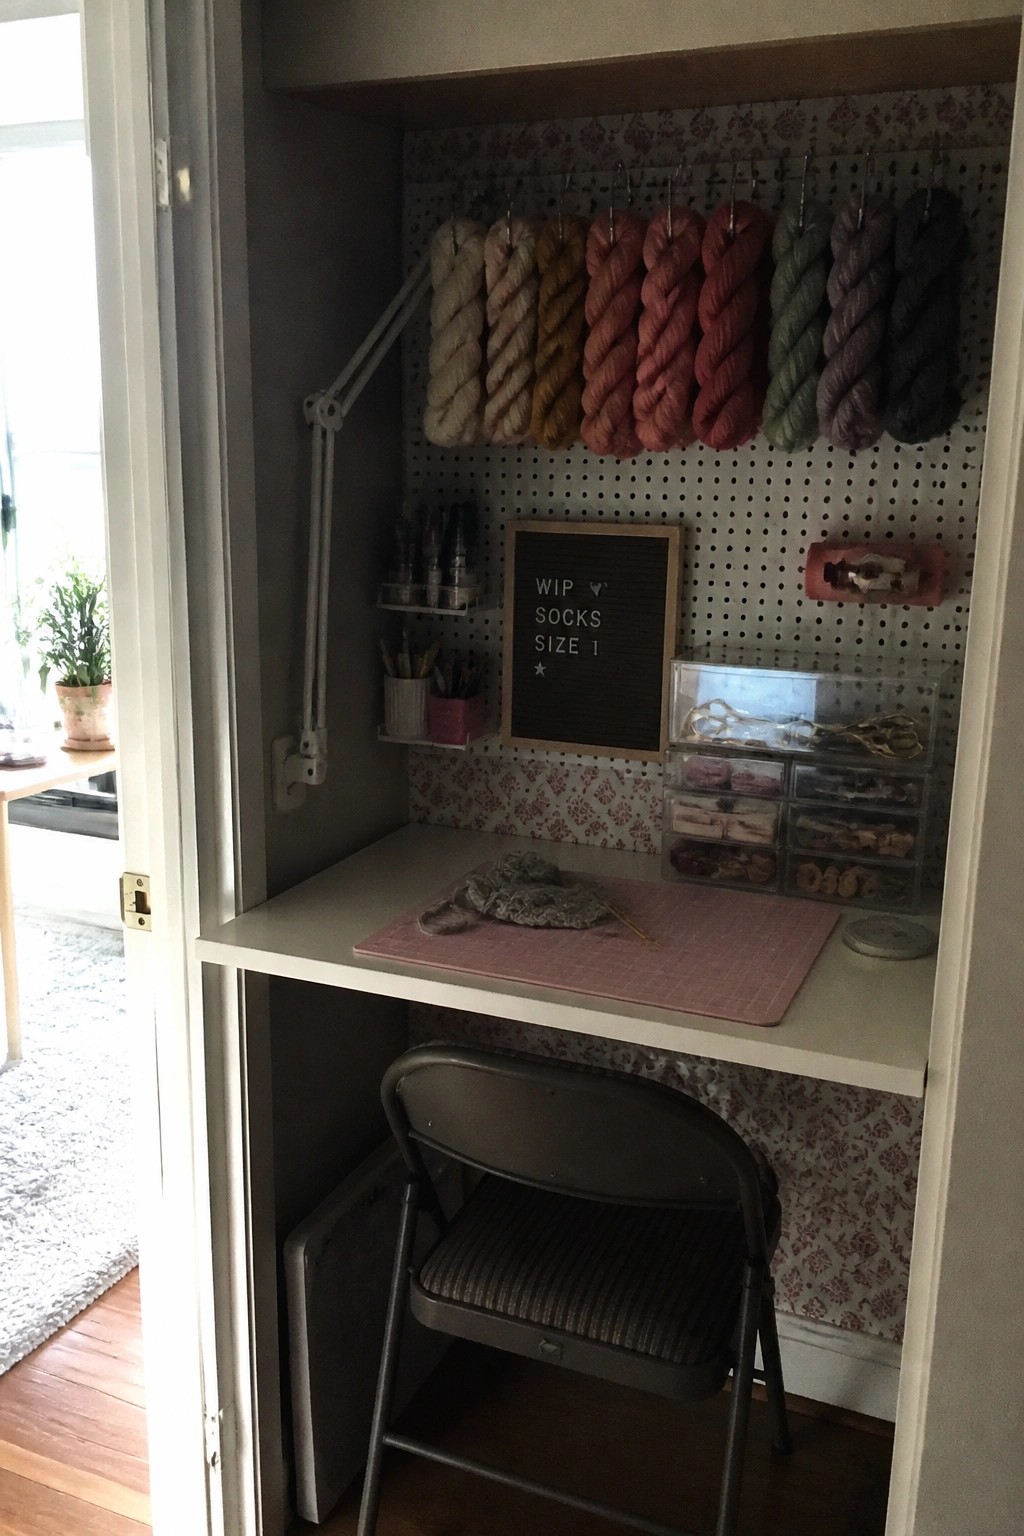
A closet can work well as a small workspace when the room around it has no extra floor space. The vertical pegboard keeps supplies sorted and within reach while the desk stays out of the way when the door closes.
This idea suits apartments or older homes with limited rooms. A folding chair underneath lets the whole setup disappear at the end of the day.
Add a Seating Area to Your Workspace

Many creative rooms end up feeling too focused when they only have a desk and chair. Adding a simple couch or armchair nearby gives you a spot to step back, listen to what you just made, or take a break without leaving the room.
This setup works best in smaller studios or spare rooms where you want the space to feel usable for longer stretches. Keep the seating angled toward the main work area so you can easily switch between active work and quieter thinking without rearranging anything.
A Long Sturdy Table for Your Main Workspace
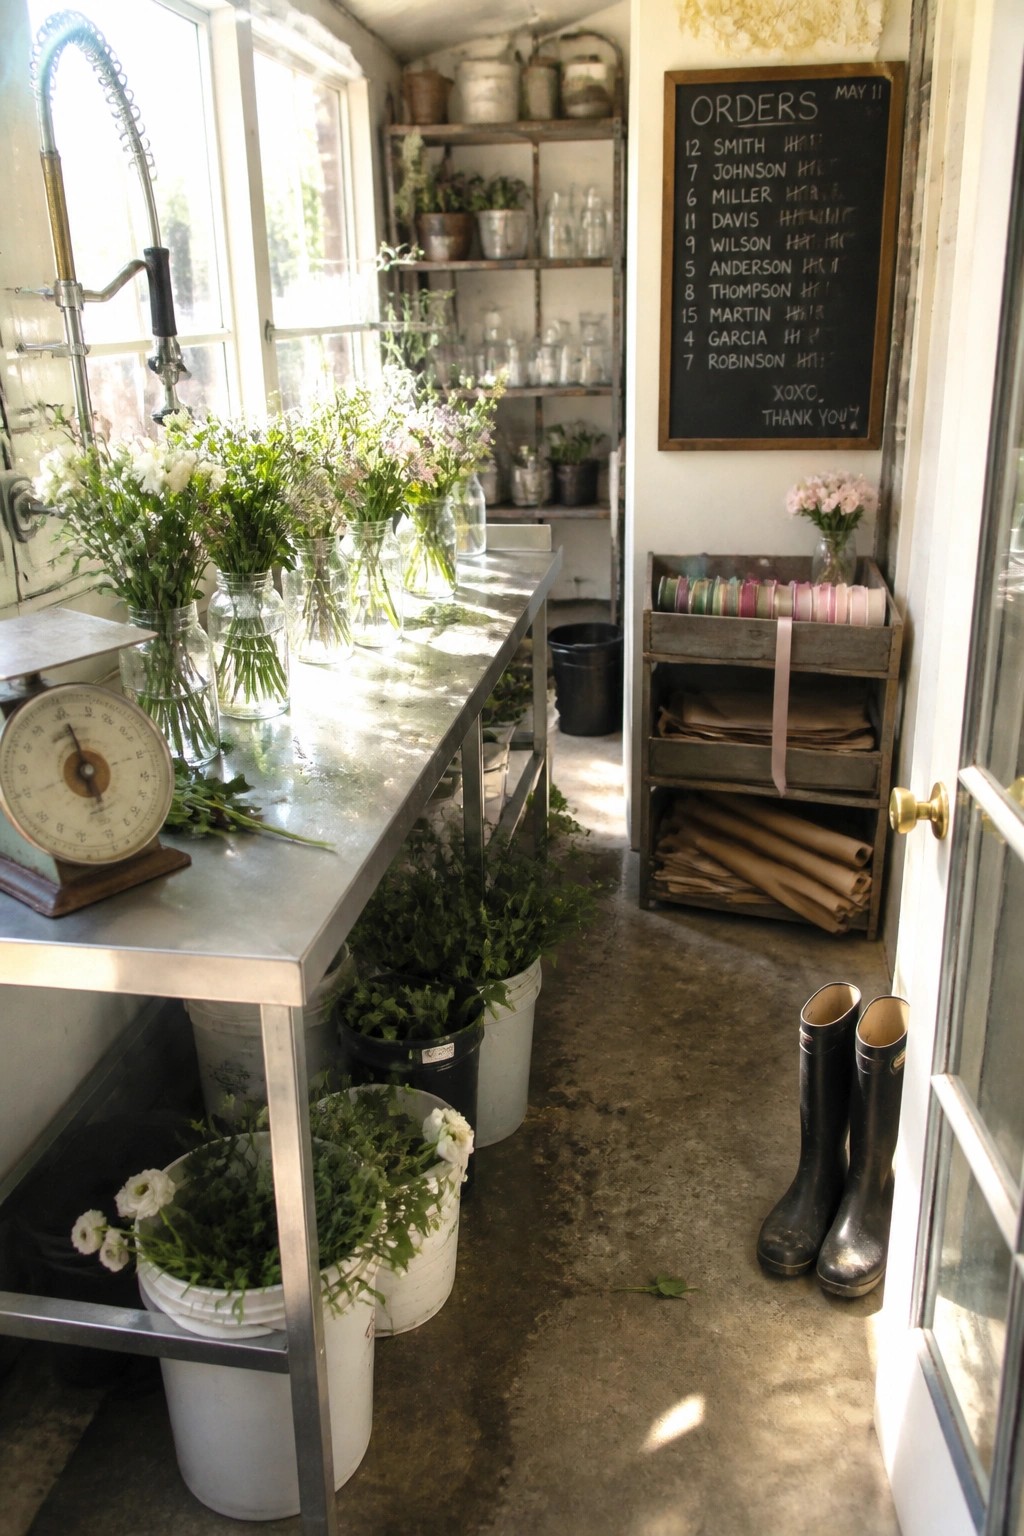
A long metal table gives you a solid surface that can handle daily use without showing wear. Makers often like this because it stands up to water, tools, and heavy materials far better than lighter furniture.
Keep supply buckets stored underneath so everything stays within reach during a project. This kind of setup fits small studios or shared spaces where you need one main area that stays practical and easy to clean.
Add a Solid Wood Workbench

A thick wooden workbench with built-in vises gives makers a stable place to work that holds up to daily use. The surface stays flat and takes clamps or pressure without shifting, which matters when you are cutting, planing, or assembling.
Keep the bench along one wall and add simple open storage above for tools you reach for often. This layout suits a basement or garage workspace where you want easy access without filling the floor with extra cabinets.
Set Up Your Workspace by a Window
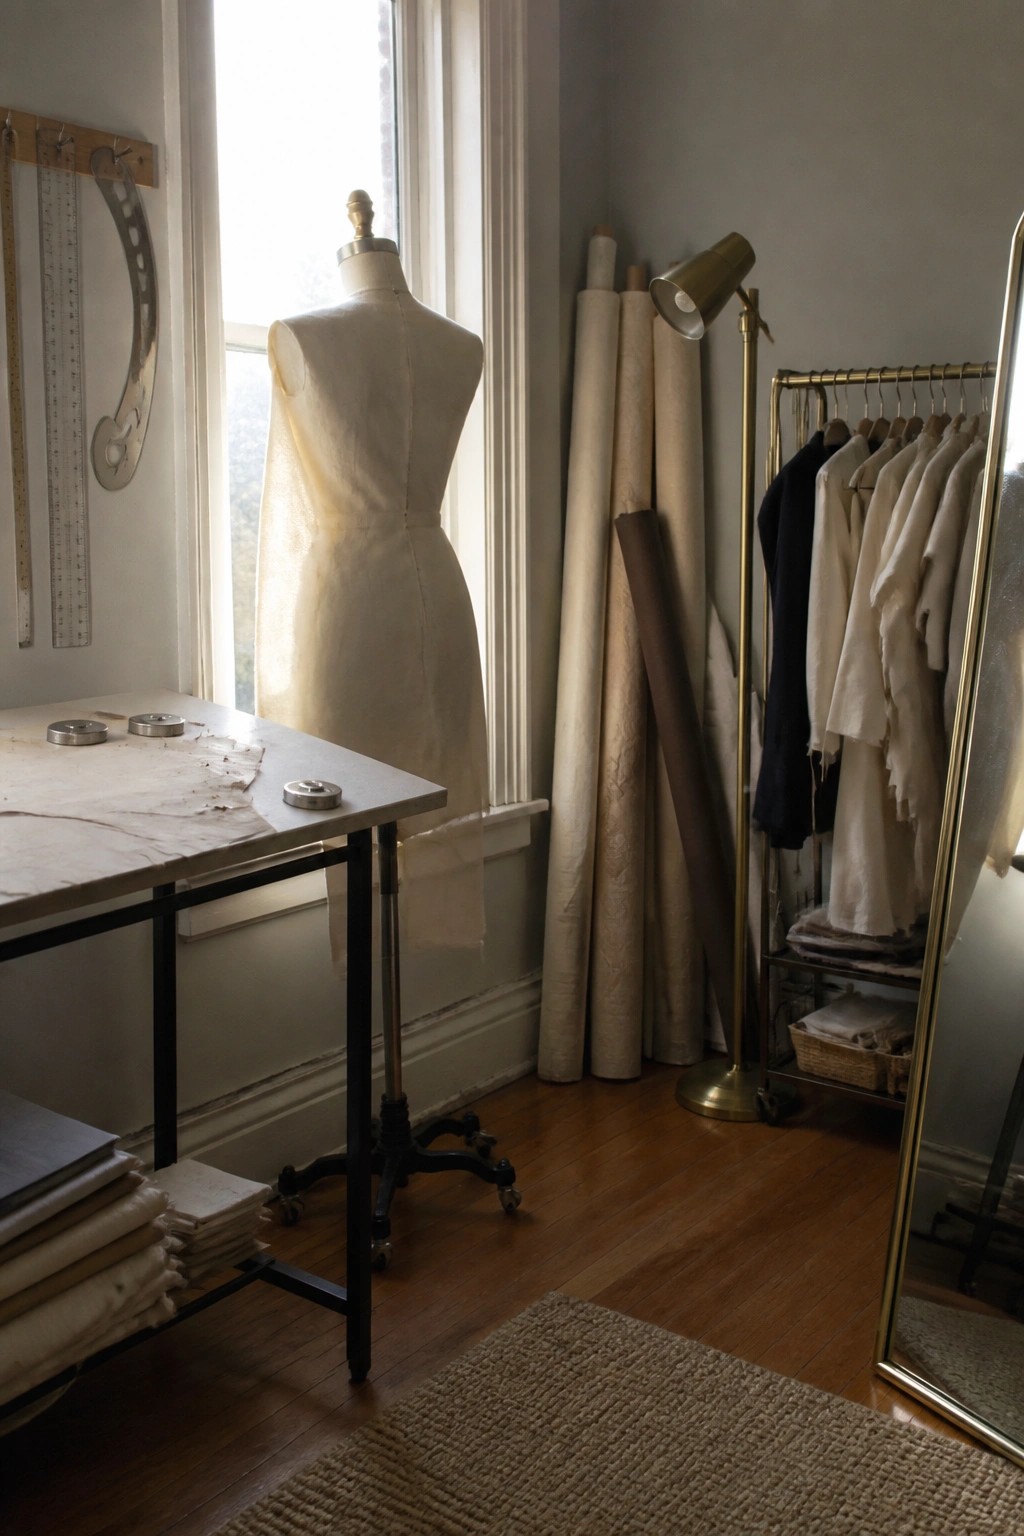
Many makers notice that natural light changes how they work. It makes colors easier to judge and keeps the space from feeling dim during long hours at the table.
Place your main surface right by the glass when you can. Keep fabric and tools nearby so the setup stays practical without extra lamps during the day.
Create a Dedicated Workbench for Projects

A permanent workbench makes electronics and making projects easier because everything stays in one place. You can leave tools plugged in, keep parts sorted, and return to work without resetting the space each time.
This approach suits a spare room, basement corner, or garage. Use labeled drawers for small components and a pegboard nearby for cables and hand tools so the main surface stays clear for the current job.
A Large Central Table For Hands-On Work

A big table in the middle of the room makes it easy to spread out sketches, models, and notes all at once. It turns the space into a place where people can actually work together instead of staying tucked away at separate desks.
This kind of layout suits studios or home offices where projects need room to grow. Leave enough space around the edges so stools can slide in and out without bumping into other furniture.
Central Work Table With Open Shelves

A big stainless work table gives you one solid surface for everything from writing and sketching to prepping food. It keeps tools and materials within reach without needing drawers or doors that hide what you have. The lower shelves hold bowls and trays so you can grab what you need and put it back fast.
This setup works well in smaller homes or apartments where the kitchen doubles as a studio. Place it where light comes in from a window and leave the top mostly clear. Just watch that the metal stays clean if you switch between food and paper projects.
Frequently Asked Questions
Q: My desk is tiny. How can I fit creative ideas into such a small area?
A: Start with a foldable desk extension that tucks away when not in use. Rotate your tools weekly so nothing stays cluttered for long. Pick one focal item like an inspiration board that hangs above instead of taking surface space.
Q: What if I work on a tight budget and can’t buy new furniture?
A: Repurpose old crates or shelves you already have. Paint them to match your style for a fresh look.
Q: How do I keep my workspace from getting messy with all my projects?
A: Set up a simple bin system for each ongoing project. Clear the main surface at the end of every day. This habit keeps ideas flowing without the visual chaos.
Q: Does lighting really matter that much for writing or designing?
A: Swap in a warm lamp near your main work spot. It reduces eye strain during long sessions. Natural light from a window helps too if you can position your desk toward it.
